How to Upload High Mb Video to Instagram

A social media platform that provides entertainment, data, and inside news virtually the showbiz world is Instagram. Today, nigh everyone uses this platform because its advancing features attract and facilitate the user. But all the same, few people have questions likehow to fix Instagram video quality and how to gear up blurry videos on Instagram.
It gets annoying if your favorite platform does not give the same quality outcome as before. But nosotros are here to resolve that trouble and tell y'all how to fix the issue.
- Part 1. Why My Instagram Video Is in Low Quality after Uploaded?
- Part 2. How to Fix Instagram Video Quality?
- Part 3. Instagram Video Format Specifications Recommendation.
Function ane. Why My Instagram Video Is in Low Quality after Uploaded?
The nigh ordinarily and widely used social media these days is Instagram. Uploading pictures on Instagram does not impact the picture quality, merely on the other hand, when a video is uploaded, its quality is affected. It turns blurry and low quality after upload.
There might be several reasons for this downfall of video quality. A few of the contributing factors are listed below;
Bad/weak internet connection can be one of the reasons why video becomes low quality.
Another factor might be Instagram settings when using mobile information.
Network settings of Android/iPhone might also be disturbed, causing the video to get blurry.
The camera settings of the telephone might likewise be unbalanced.
Another reason might be that the application is not updated, so that's why it's non working properly.
The video being uploaded might not be of the required standard size; that's why information technology gets blurry.
Role 2. How to Set Instagram Video Quality?
Everything doesn't need to piece of work well every fourth dimension yous effort information technology. The aforementioned is the instance with uploading a video on Instagram, and it might lose its quality while uploading it. Presenting you some solutions that will helpfix Instagram video qualityand resolve the result of blurry videos.
Method 1. Adjust Instagram Setting
Instagram utilizes a lot of mobile data. Merely to avoid and prevent that, Instagram provides yous with the settings that tin be inverse to minimize information usage. This volition lower the Instagram video quality. The following steps demand the user's attention;
1. Firstly, launch Instagram and tap on your profile icon to open your contour.
ii. At present, click on the three horizontal lines in the meridian right corner.
3. When a sliding menu opens, go to 'Settings' and from there, select 'Account.'
4. When that opens, scroll and select 'Cellular Data Employ.'
5. Toggle the Data Saver off.

Method two. 4K Video
Sometimes, a few tricks and techniques can do the same chore with long-lasting results. For this case, we will exist fixing a video with dissimilar small techniques every bit;
Shoot video in 4K:
For filming a adept quality video, you firstly need to have a skillful camera. That means a photographic camera has impressive 4K video quality to get a perfect and flawless video.
Video Pinch:
Subsequently filming an excellent 4k video, you demand to look for such a video compressor to compress and save the 4K quality video. The video retains its 4K quality due to such video compressors even after it has been uploaded on Instagram.
File Transferring:
Compressing and transferring video files from one server to another also harms the video quality. So, you should avoid compressing files for transfer again and again.
Method 3. Fix Blurry Video with Video Repair Software
If your video is blurry, and you recall you are in problem, then y'all should know that y'all are not considering Wondershare Repairit is hither to save you lot. The astonishing software has got a solution for and then many unknown questions that no i ever imagined. The video repair software helps to repair whatever corrupted video file and make it new like never damaged earlier.
Video Repair software supports the following video formats; MOV, MP4, M4V, M2TS, MKV, MTS, 3GP, AVI, FLV. It can besides repair multiple formats of videos at the aforementioned time.
Following steps should exist followed properly to get the best consequence;
Step i. Select the Corrupted file
Afterwards launching the software, add the corrupted file onto the surface of the software. The interface offers you ii ways to upload a file. Either by clicking the '+ Add' push button precisely in the heart of the screen or else by clicking in the heart area of the interface and repairing it.

Footstep 2. Repair the video
After selecting the corrupted file for the repair process, click on the "Repair" button that is on the bottom right corner and permit it repair.

Once the repairing process is over, then a window appears, confirming the repair has been completed.
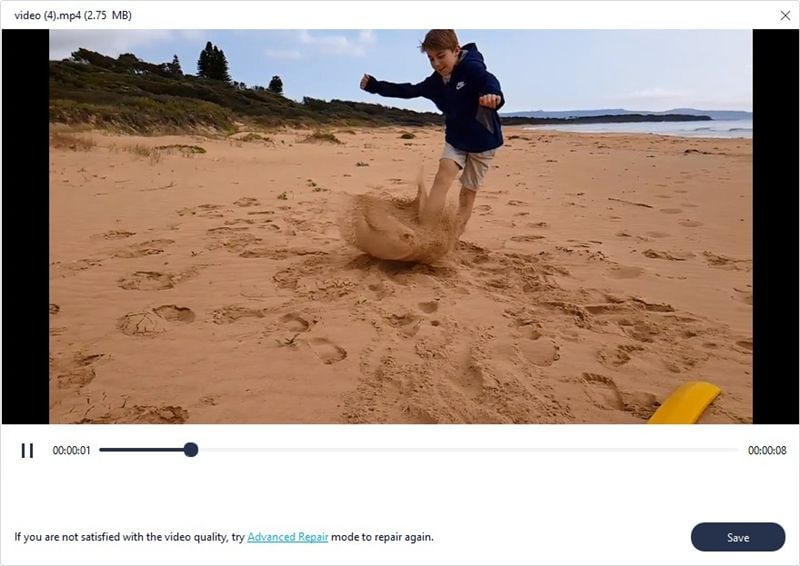
Step three: Preview the Video:
Y'all can preview by clicking on "Preview." If you are confirmed, and the file is right, click on "Save" in the bottom right corner to save the file. Proceed in mind that you don't hold it on the aforementioned path from where you lost it.
Step 4: Advanced Video Repair:
It might besides exist possible that the video does not repairs that easily because information technology is severely corrupted. For such a instance, select Advanced Repair. For this, click on the folder icon and add a sample file to repair. A sample file is the aforementioned equally the corrupted file because it is created with the same device and exact format.

Advanced repair uses the information from the sample file, only it repairs the corrupted initially file. Click on repair in the bottom right corner and give it few minutes to complete the process.
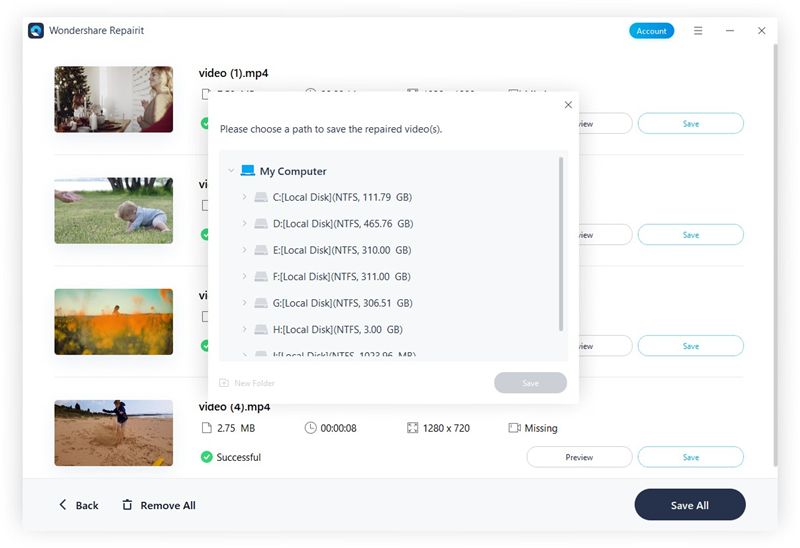
Footstep v. Save the repaired file
Once it's done, click on the "Relieve" button in the bottom right corner. Choose a path to save it and make sure that information technology is different from the previously saved path. It will accept few seconds to salvage the repaired video.
Part 3. Instagram Video Format Specifications Recommendation.
The ordinarily faced problem of blurry video tin be resolved through the unlike methods suggested in the section to a higher place. But nonetheless, for the ease of people, there are recommended specifications that if they are implemented, then the video quality is automatically improved. The all-time video format for uploading a video on Instagram is MP4.
Furthermore, the technical specifications must be included in the MP4 file and then that the user can become the best video quality. These recommended specifications are like a cherry on top. Specifications are;
- H.264 Codec.
- AAC audio stream.
- 3500 kbps bitrate for video.
- The frame rate of 30 fps (frames per second).
- Maximum file size of 15 MB.
- The video must be a maximum of 60 seconds.
- The best dimension is with maximum video width of 1080 pixels.
- The video should be 920 pixels tall.
Bonus:5 Methods to Fix No Sound on Instagtram Video Consequence
Decision
Sharing the best knowledge with users to learn more about the factors that affect the video quality and learn how to upload flawless and amazing stuff on Instagram without any trouble. The great guideline by Wondershare Repairit will change your life.
People Besides Ask
-
How do I upload high-quality videos to Instagram?
By adopting the recommended specifications and past compressing the video into 4K quality, you tin can upload a high-quality video.
-
Does Instagram support 1080p video?
Yeah, Instagram supports 1080p videos. Information technology is too a part of the recommended specifications. 720p video is supported to upload on IGTV.
-
Tin I upload a 4k video to Instagram?
IGTV supports 4k vertical and mural videos that are at least 15 seconds plus. But due to Instagram's compression algorithms, 4k videos are subject to astringent quality loss.
-
What's the video length limit on Instagram?
The Video length limit on Instagram is lx seconds. Multiple 15 seconds stories can also be posted. A video between xv seconds to 10 minutes long tin be uploaded on IGTV.
Source: https://recoverit.wondershare.com/video-repair/fix-instagram-video-quality.html
0 Response to "How to Upload High Mb Video to Instagram"
Post a Comment